5 Ways to Make Sewing Your Slipcover Hassle-Free
Making your own slipcover can be enjoyable and rewarding when you know how to avoid common sewing pitfalls. Learn my simple tips and tricks for stitching up your new cover hassle-free.
Before we move onto Part 3 of my slipcover pin fit series, I thought it would be a good idea to talk about common DIY slipcover sewing pitfalls. And, what you can do to avoid them.
Here are five simple things you can do to make sewing your slipcover a breeze.
1. Choose Fabric Your Sewing Machine Can Handle
Your machine chokes. The needle keeps breaking. Thread snaps. Stitches skip. And, there goes the tension.
These are common problems most of us encounter when stitching heavy weight slipcovers on a home sewing machine.
It’s frustrating!! But just know, it’s not always your machine’s fault.
More than likely, it’s your fabric that’s the trouble maker.
Home sewing machines and sergers are not designed to sew through multiple layers of heavy weight fabrics.
They simply don’t have the power output needed to produce quality stitching through thick fabrics. 12 to 14 ounce denim, canvas and thick upholstery textiles are just too much for the machine to handle.
No wonder your machine acts up!
Even home sewing machines called “heavy duty” struggle to sew through 4 to 6 layers of heavyweight fabric evenly and consistently. Oh, and forget about the thicker areas at seam intersections.

Does that mean you have to buy an industrial sewing machine?
No, way! A home sewing machine in tip-top shape will work just fine when you choose a fabric it can easily handle. Here’s how:
Lighten up your slipcover design. Omit pleated skirts and welt cord that add extra bulk to the seams. That way you can sew with heavy weight 12 ounce fabric (2 layers only) with ease.
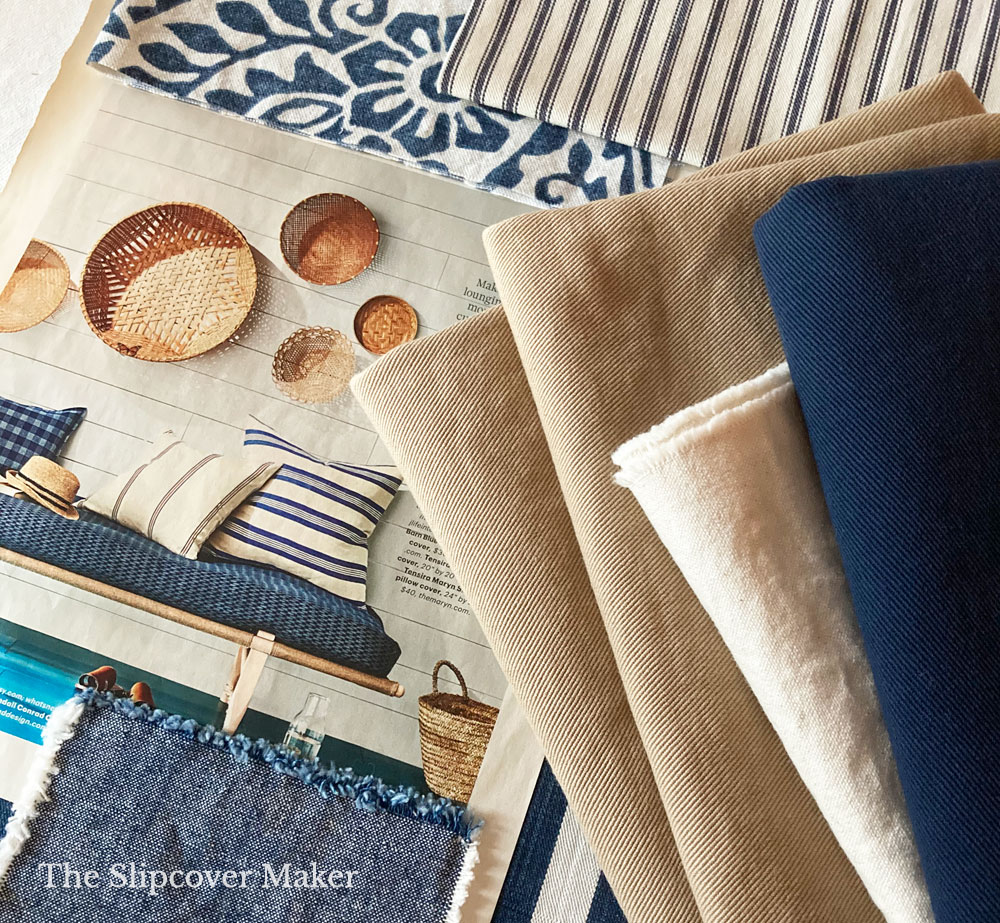
Choose a medium weight fabric. There are many 8 to 10 ounce fabrics that sew smoothly on most home sewing machines. And, they make a great looking slipcover! Go with a tightly woven medium weight cloth like these:
- 8 oz. Cotton Chino Twill
- 8 oz. Brushed Chino Twill
- 10 oz. Natural Bull Denim
- 10 oz. Cotton Canvas
- 8 oz. Carr Go Canvas
- 10 oz. Cotton-Linen Blend
Do a stitch test. Chances are your sewing machine will impress you buy sewing a few good stitches through a triple folded fabric swatch. But don’t let that fool you!
Do a real stitch test. Buy one yard of fabric, launder it and cut into long, wide strips.
Start by sewing through 2 layers using a 80/12 or 90/14 size needle. Then, fold the strip over to create 4 layers and stitch again, and then again. Add, welt cord and test again. You will soon discover what your machine is capable of handling.
2. Upgrade Your Sewing Tools
There is nothing more annoying than trying to complete a slipcover project using sewing tools that don’t work for the job.
Dull scissors, wrong type of machine needles, bent pins, markers that don’t mark, and a broken seam ripper are just a few pesky things that make sewing a drag and slow you down.

Take stock of your sewing tools before you start making your new covers. Replace the broken, lost and outdated items.
No fancy gadgets required! You only need a few good basic tools. Here are the ones I use most often:
- Super sharp fabric scissors. I like the Kai brand for comfort, sharpness and durability. The ultra sharp tip works great for making notches.
- Extra long measuring tape. I use this easy-to-read, flip-it style tape to measure slipcovers, yardage, furniture, etc. You’ll love the extra length and flexible material.
- Wonder Clips. I use this brilliant little clips in place of pins when I sew slipcover pieces together. Talk about making the sewing process easy!
- Durable metal 6″ sewing gauge. This small ruler comes in handy for measuring hem widths, seam allowances, spacing pleats and more.
- Seam ripper. I like a slim tip and long neck for ripping out stitches. Clover’s ripper does the job.
You can find more of my recommended tools for slipcover sewing and pin fitting here.
3. Use An Easy Pin Fit Method
Sewing your slipcover pieces together after you’ve finished the pin fitting will either be easy and enjoyable, or a nightmare!
When a pin fitting is done accurately the slipcover sections line up and join together beautifully. As a result, sewing the slipcover is a cinch.
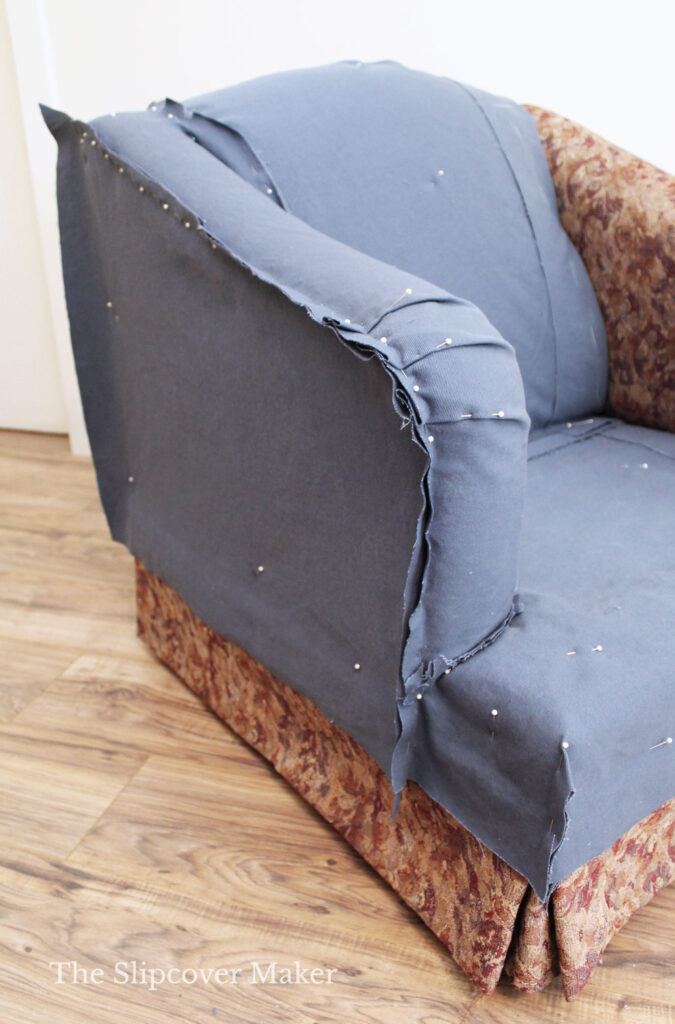
Avoid the on/off pin and sew thing. That’s when you reverse pin fit a slipcover section, remove it, sew it, and then put it back on inside out and pin it to the next section.
Every time you do that, you change the fit of your slipcover….for the worse! Sewing the sections together becomes way too laborious. Did I mention nightmare?
Instead, use an easy pin fit method, or other type of pattern technique, that produces a simple-to-sew slipcover.
4. Preshrink Your Yardage
If you are planning to make a washable slipcover, you MUST preshrink your yardage even if the fabric is labeled “preshrunk”, “prewashed” or “laundered”.
Otherwise, your beautiful slipcover that you spent hours pin fitting and sewing will shrink in the wash and won’t fit.
Learn why and how to preshrink your fabric here.
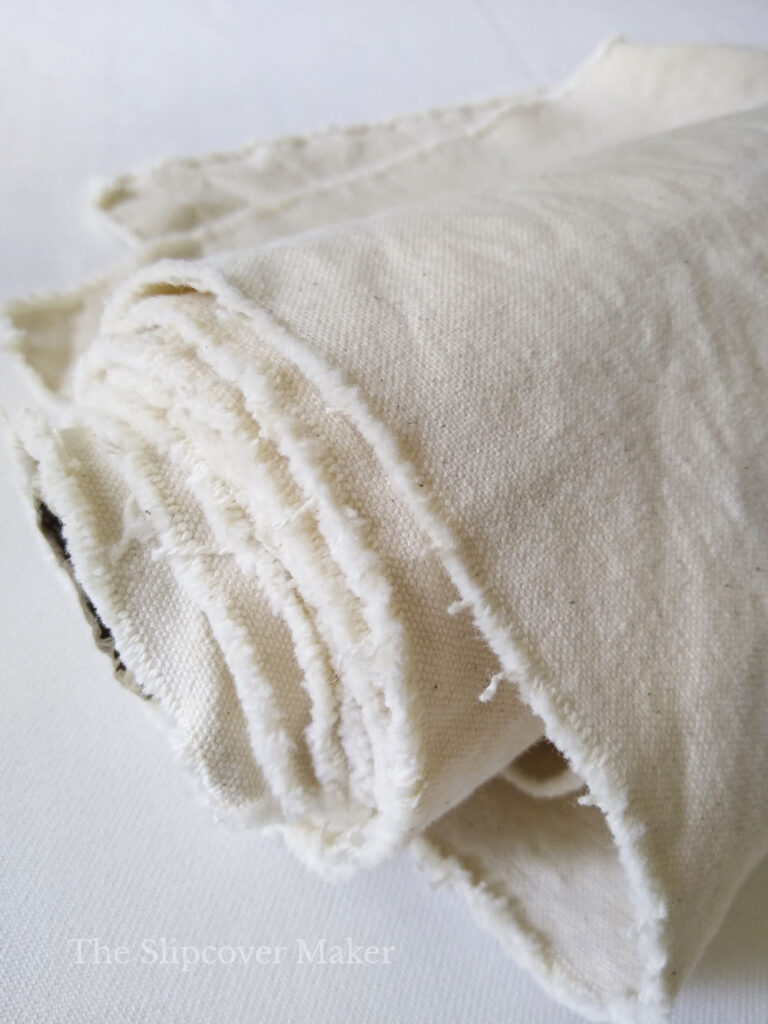
Preshrinking a natural fiber fabric makes it easier to handle during sewing.
The hot wash and dry beefs up the weave and softens the fiber. It does away with the sheen and stiff sizing. You don’t have to worry about maintaining the fabric’s original crisp finish and flat, crease-free appearance.
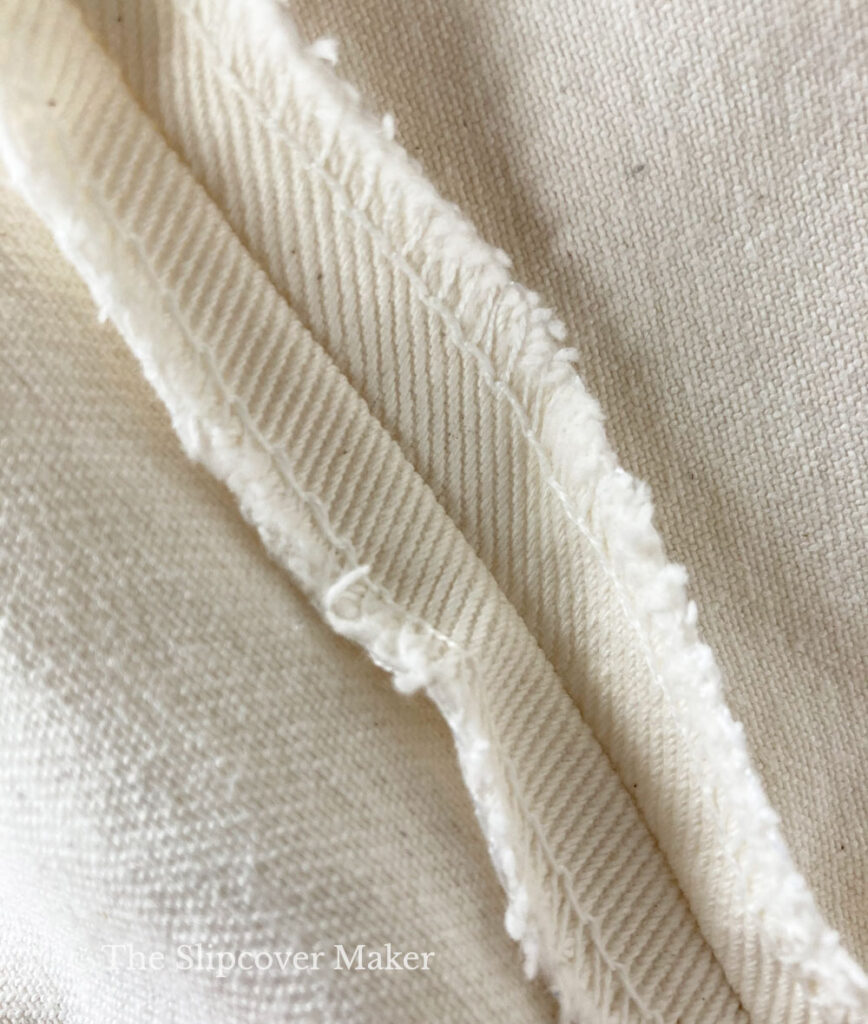
5. Finish Seam Edges Before Sewing Your Slipcover
It’s always a good idea to finish your slipcover seam edges to prevent raveling.
You can do this with your home serger or use the zig zag stitch on your home sewing machine.
To avoid choking your machine and breaking needles, it’s best to serge or zig zag the edges of all of your slipcover pieces (single layer) before you begin sewing them together.
Happy slipcover sewing! — Karen
This post includes affiliate links, which means I make a small commission at no extra cost to you when you make a purchase.
Thank you so much for such a wonderful blog. Your tips are great and instructions are so thorough and easy to follow. I love all your work and will be following your lead on future slipcovers I make. Some of it I figured out on my own, but love, love, love your instructions for pin fitting with right side of fabric out. I have made mine using old fabric to make a pattern and then cutting the pieces and putting it all together – double work! Can’t wait for part 3!
My pleasure, Pam! Like you, I made patterns when I first started making slipcovers as a hobby. It’s not a bad method at all but you’re right, it’s double the work.
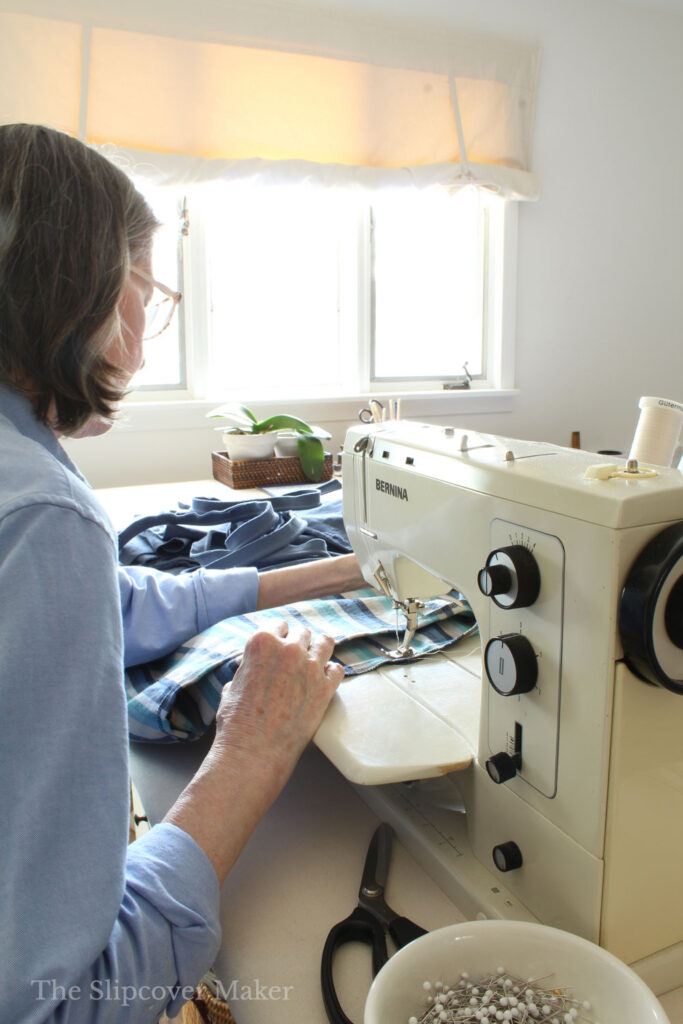
Love these tips and suggestions. I was one that took item on, off, on off all the time. I have that exact Bernina sewing machine, have had it for years. Thanks for sharing all your knowledge.
You’re welcome! Oh yes, our old Bernina machines are the best!
Excellent post, as always. Did I miss part 2 of the recent pin fit series? You mentioned looking forward to part 3, as am I, but I haven’t seen pt. 2.
Tracey — Part 2 of the pin fit series covers Sewing Prep. I posted it on April 28th. You can find it here https://slipcovermaker.com/slipcover-pin-fit-tutorial-part-2-sewing-prep/