Centered Zipper Tutorial
Cushion covers and certain slipcover styles rely on a zipper opening to function properly. There are different zipper applications to choose from: faux placket, lapped, invisible with welt, invisible without welt, and centered.
If you are new to inserting zippers, I recommend the centered application. It’s the easiest one out of the bunch to sew.
The centered zipper is used in boxed cushion covers. And, it’s quick to add to the back of a chair or sofa slipcover for easy on and off.
If you shy away from making a zippered cushion cover or adding a simple zipper opening to your slipcovers, start here!
In this tutorial, I show you how to sew a centered zipper panel for a boxed cushion cover. You can use the same instructions for adding this type of zipper to the center back of your chair or sofa slipcover.
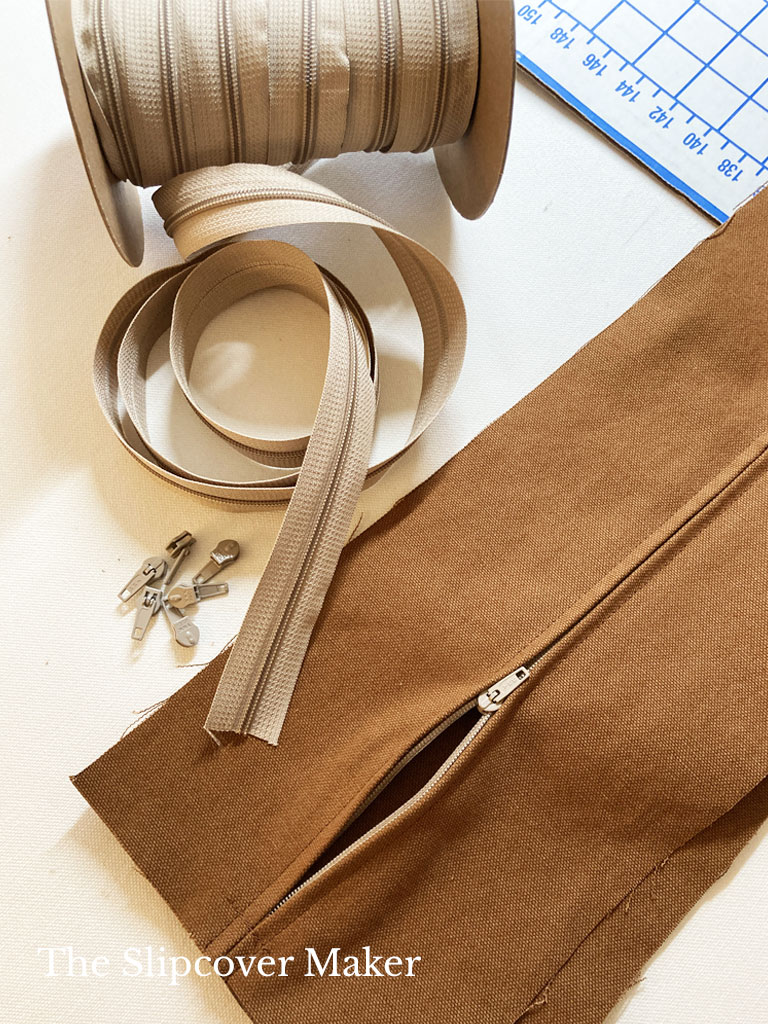
For this cushion cover project, I used a nylon coil zipper size #4.5 cut 5 to 6 inches longer than the zipper panel length. I attached a non-locking metal slider size #4.5 to the zipper tape.
Step One
Cut two zipper panels that equal your desired length and width plus seam allowance on all sides and ends. FYI – I add a 3/4 seam because that’s the standard seam allowance I use on all of my slipcover pieces.
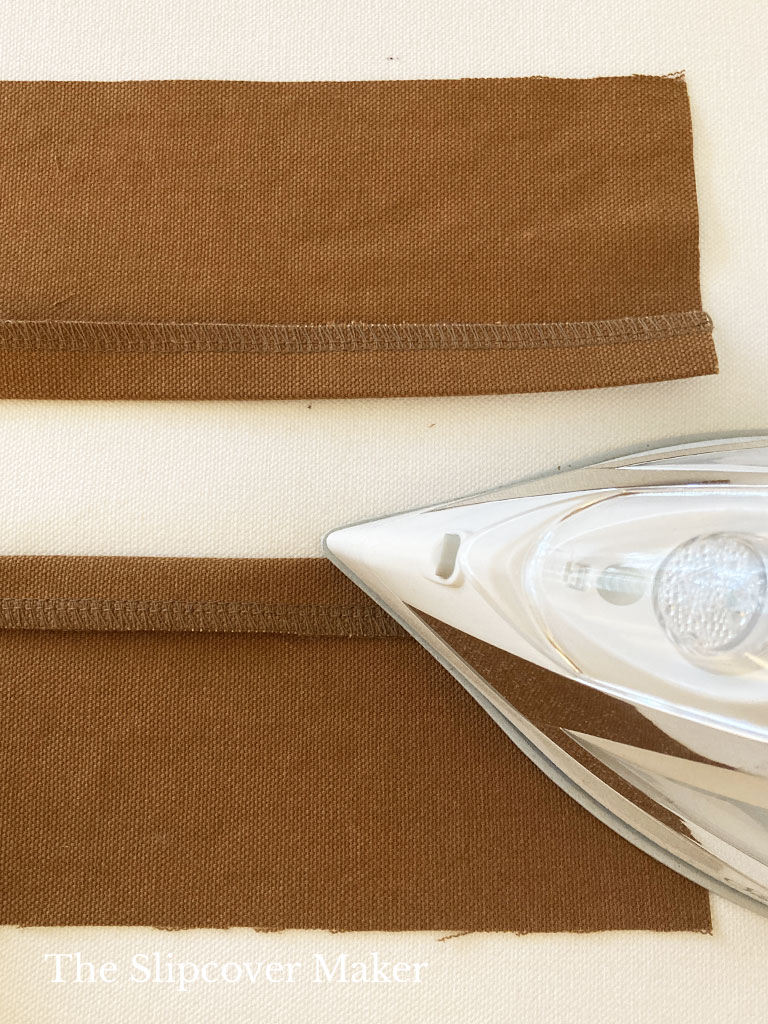
Overlock or zig zag one long edge on each panel. Turn and press press 3/4 inch.
Not sure how to determine your zipper panel size? I show you how in this cushion cover tutorial.
Step Two
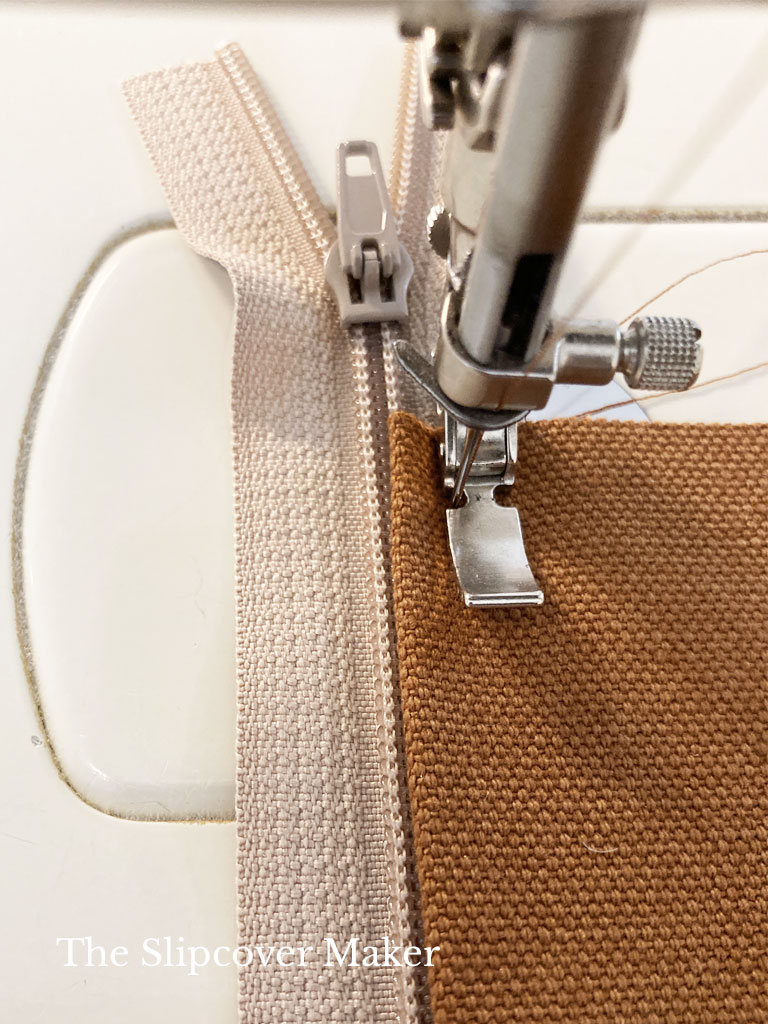
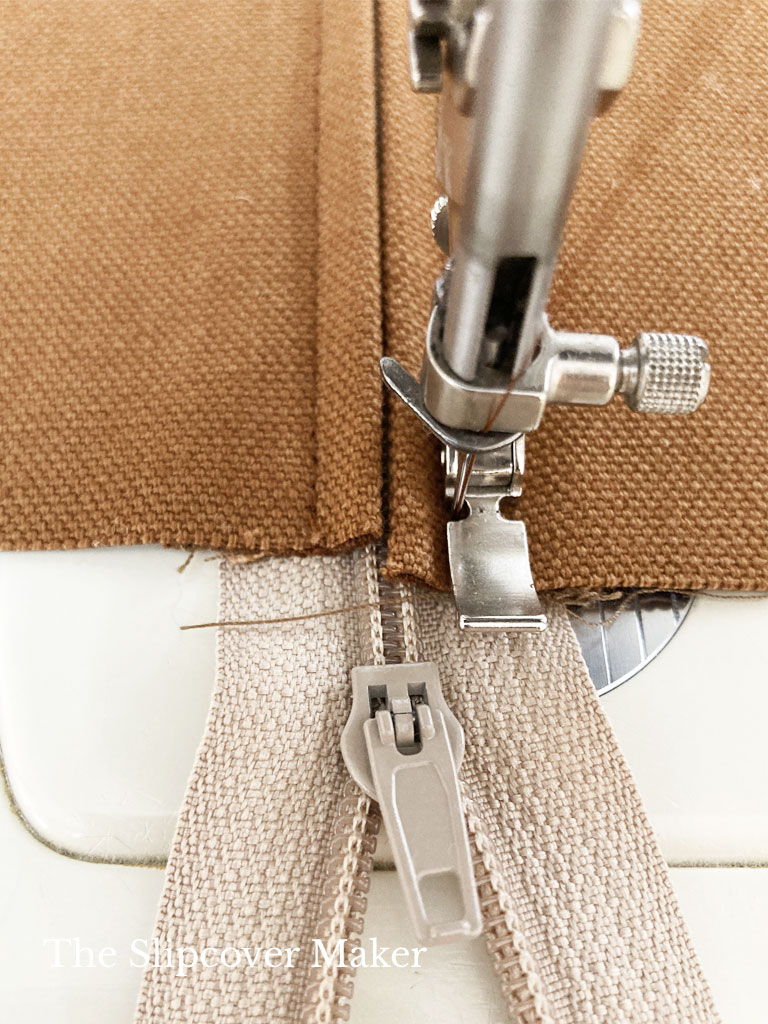
Sew one panel to the zipper.
First, place one panel to the right of the zipper just below the slider. Line up the folded edge with the center of the zipper teeth.
Then, stitch the length of the panel 1/4 inch away from the fold. Start and end the stitchline with a couple of back stitches.
Tip: Hold the fold in place with your finger tips as you sew to ensure it stays centered on the zipper teeth.
Step Three
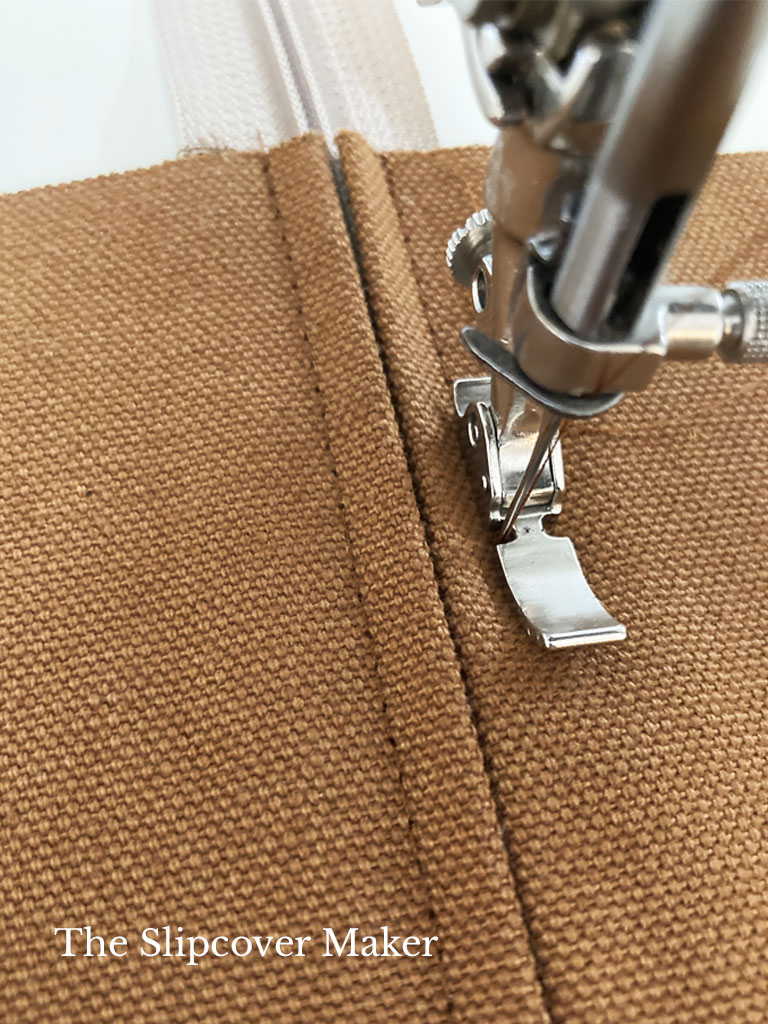
Sew the second panel to the zipper.
Start by turning the zipper around so the closed end is at the top and your stitched panel is to the left.
Next, line up the top of the second panel with the first one and place the two folded edges against each other.
Stitch the length of the second panel 1/4 inch away from the fold. Start and end the stitchline with a couple of back stitches.
After stitching the second panel, you might notice it’s longer than the first panel. That means the fabric stretched a bit as you were sewing, which is normal. Here’s how to fix it:
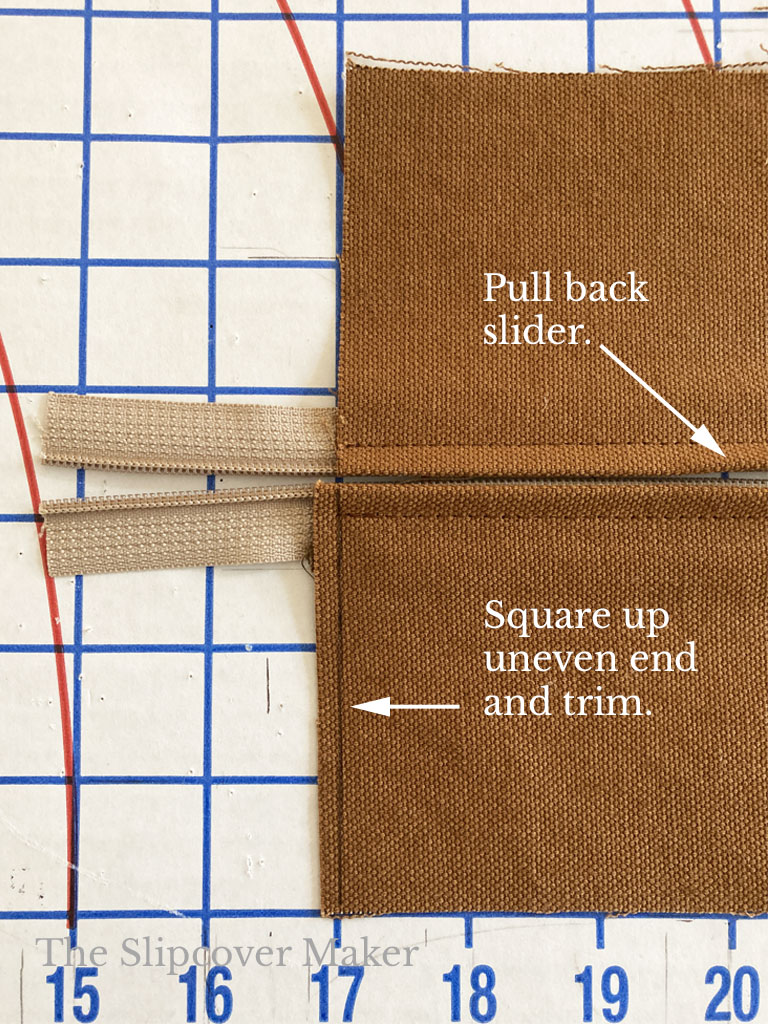
Square up the zipper panel to make the ends even. Follow these steps:
- Place sewn zipper panel on your grid mat.
- Pull back the slider 4 inches or so. Do NOT pull the slider off.
- Line up the end so it’s square with the grid lines.
- Mark a straight, vertical cut line on the uneven end.
- Cut off the uneven, excess fabric and the zipper tails..
Is the opposite end of your zipper panel also uneven? Leave the closed zipper end in place, don’t pull the zipper teeth open. Then, use this same technique as shown above to square up the edge.
Now, you have a squared zipper panel. This will allow the zipper panel to hang straight when stitched to the cushion pieces.
Step Four
Secure zipper ends.
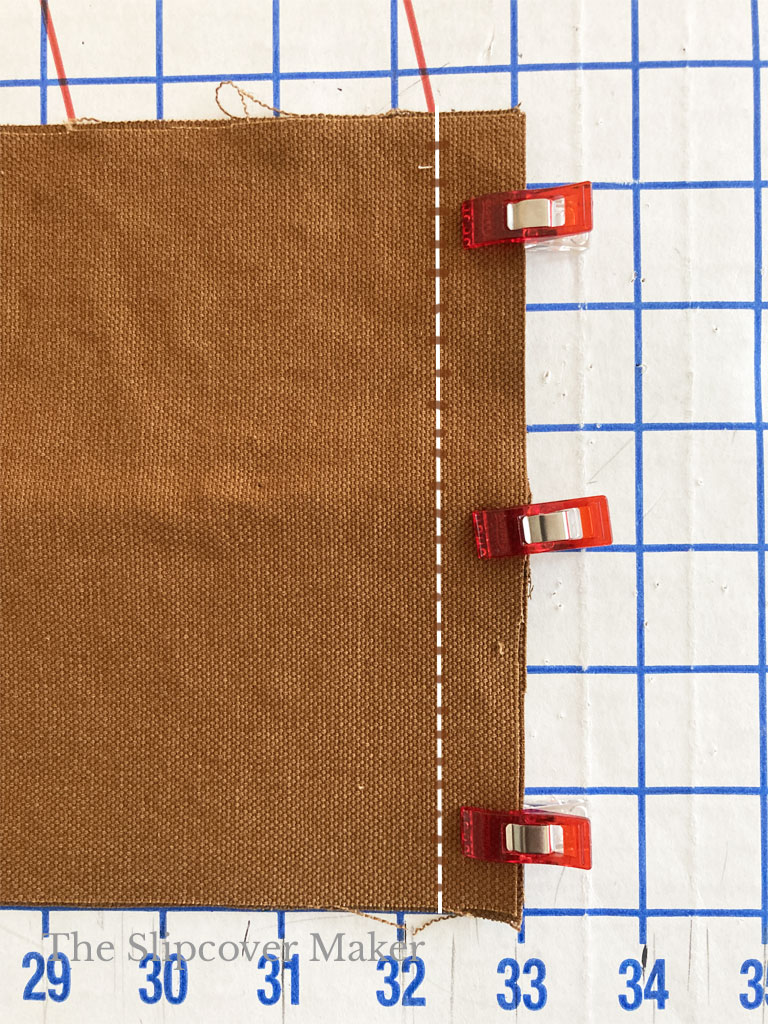
I like to stitch a scrap of zipper tape across the zipper 1/2 to 3/4 inch from the slider end of the panel. This ensures the slider doesn’t come off while I’m working with the panel and keeps the end square.
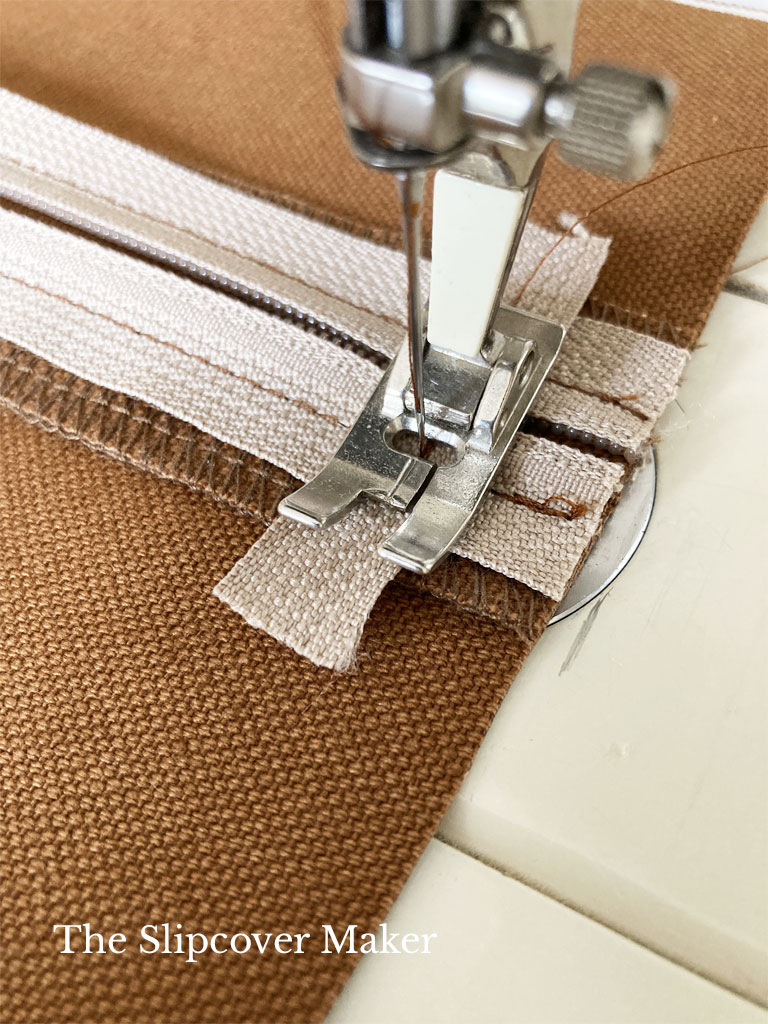
To make sure the closed end of the zipper (the opposite of the slider end) doesn’t open up, run a stitch across the zipper 1/2 to 3/4 inch from the panel end. See below.
Step Five
Sew the finished zipper panel to the cushion boxing panel.
First, place the ends right sides together. Clip or pin to hold in place.
Then, stitch 3/4 inch seam, or your desired seam allowance that you’re using for your project. Overlock or zig zag the raw edges to finish.

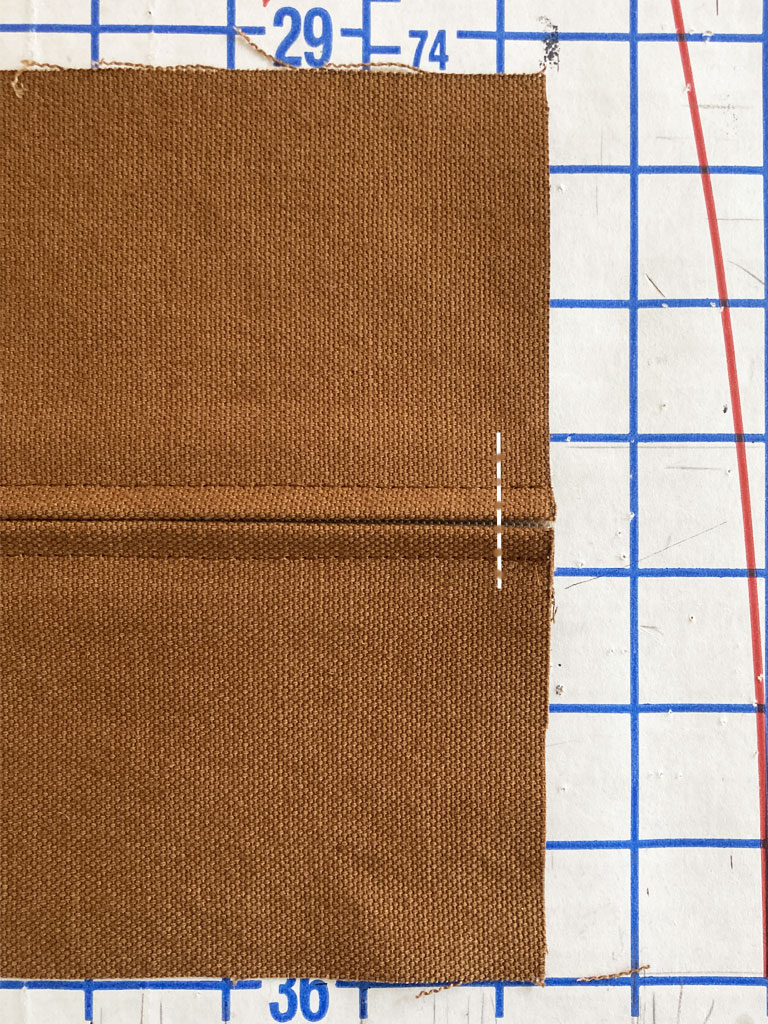
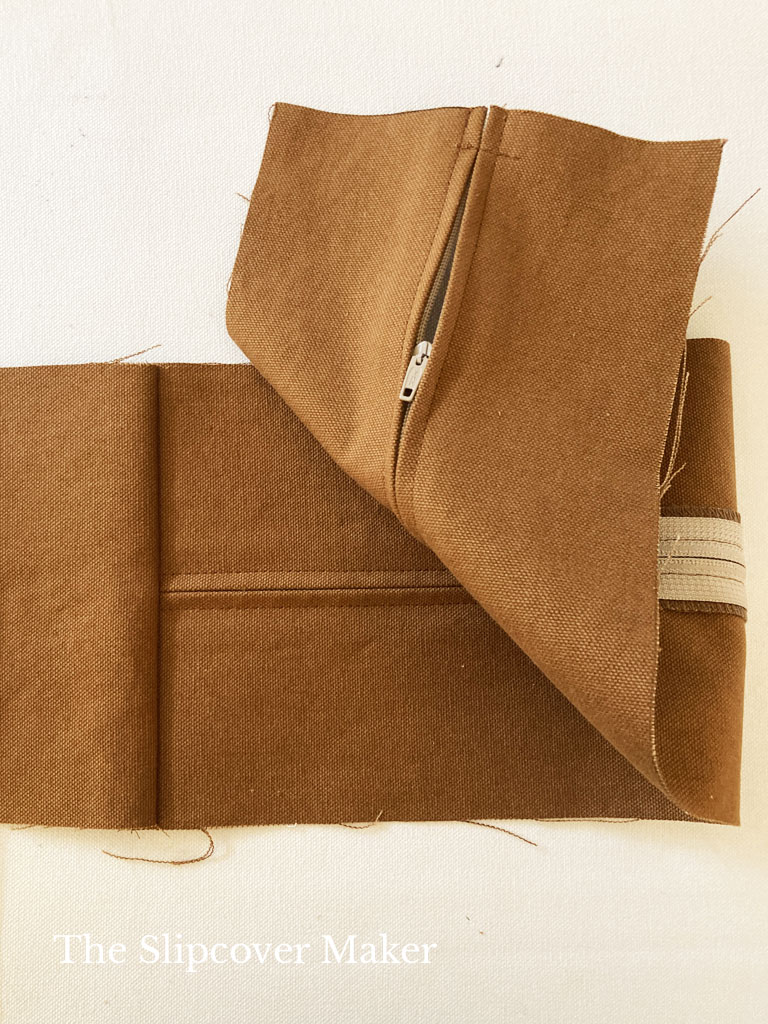
Below is what the centered zipper panel looks like attached to the boxing panel.
This style of boxing is what you use to connect the top and bottom cushion cover pieces.
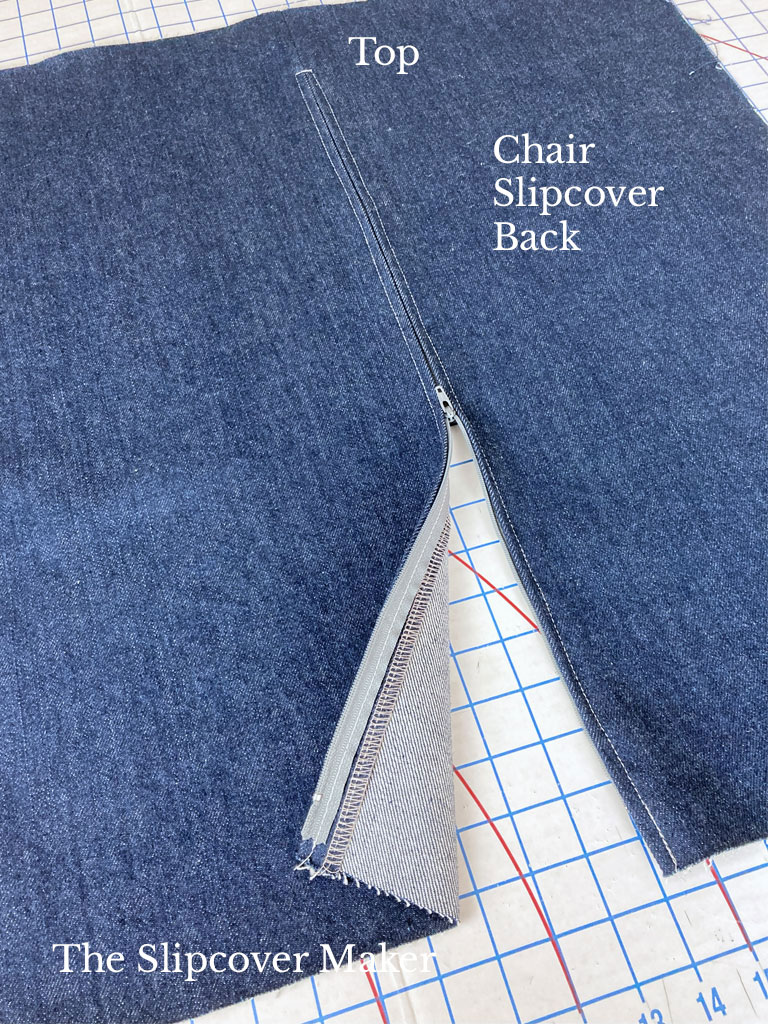
Want to add this type of zipper to your chair or sofa cover? Below is an example of a chair slipcover back with a centered zipper opening.
Pin and cut the slipcover back in two equal size pieces with seam allowance all on all edges.
Then, stitch the center back seam closed approximately 2 inches from the top. Now, you’re ready to stitch the zipper down the center following the same instructions as above.
I hope this tutorial gives you the confidence to add a simple zipper opening to your project. Let me know how you do. Happy sewing!
Great explanations and photos. Thanks!!
You’re welcome, Nikki! I hope the instructions come in handy for a future project.