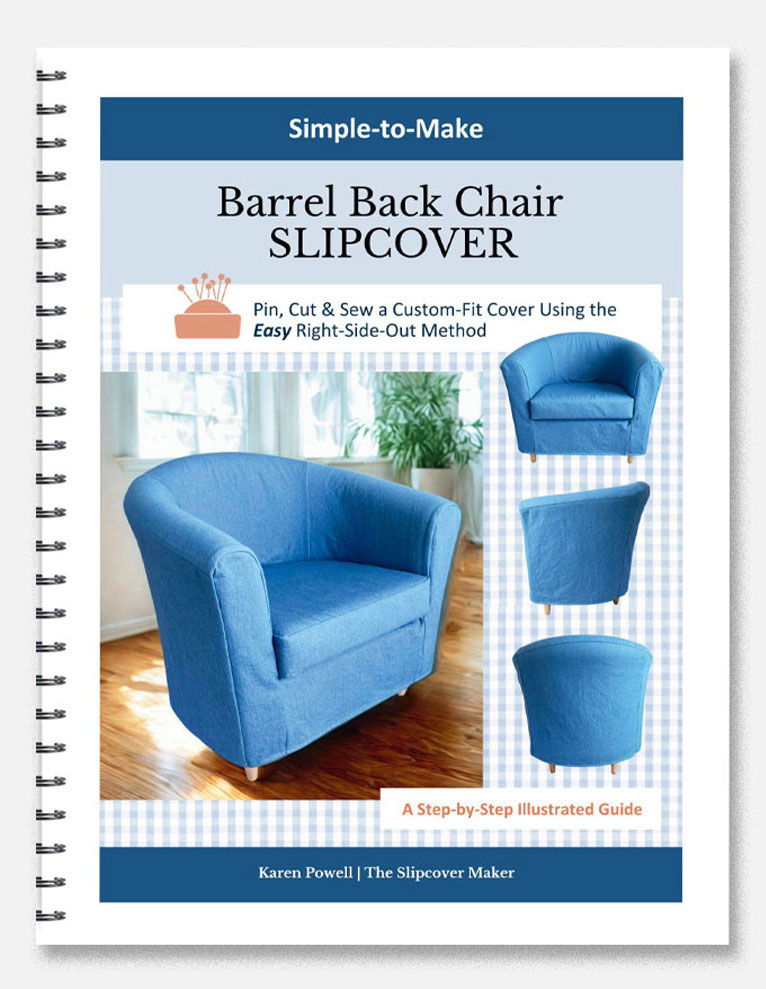
Barrel Back Chair Slipcover Guidebook
Of all the slipcovers I make, I enjoy the simple chair covers the most. The pin, cut, sew process feels easy and satisfying.
For a long time, I’ve wanted to teach my straightforward methods in detail, beyond what I could show in a blog post or a digital download. Well, I finally figured out a way to do that. I’ve gone old school and developed a series of printed, illustrated how-to guides. Yes, printed!
Today, I’m excited to share the launch of my first one: the Barrel Back Chair Slipcover Guidebook. It’s designed for DIY slipcover makers, including beginners.
You can learn a lot about making slipcovers by working on uncomplicated chair shapes. One of my favorite starter pieces is the softly rounded barrel back chair. The combination of straight lines and broad curves that bow inward and outward is beginner-friendly to pin fit.
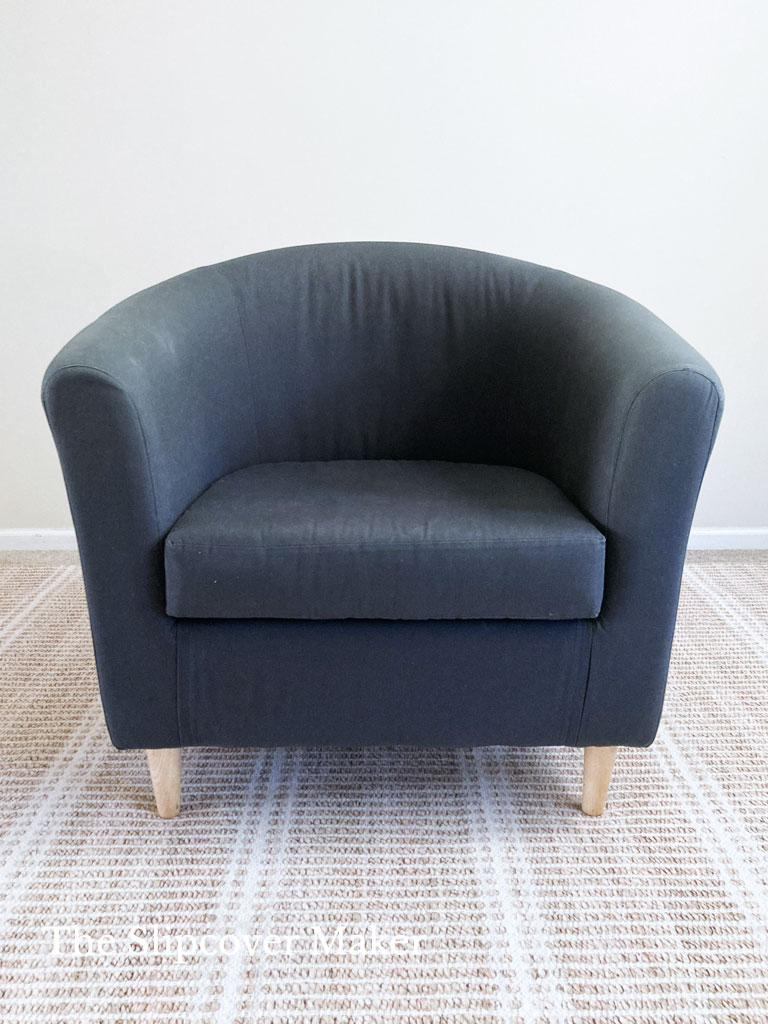
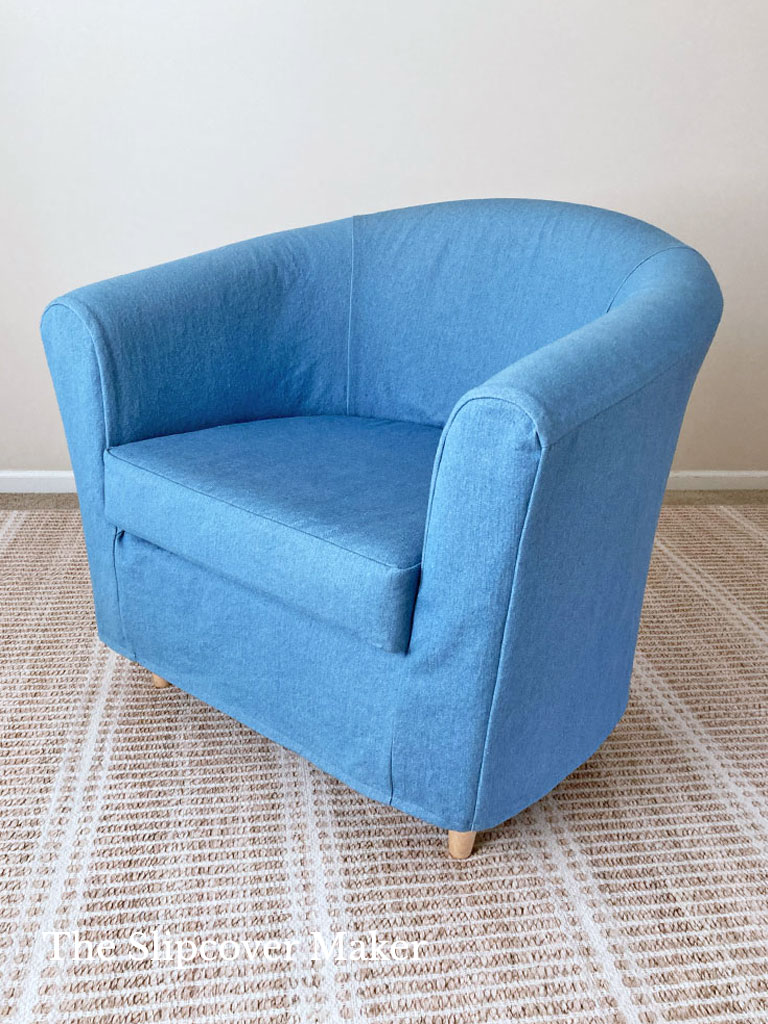
There are many versions of upholstered barrel back chairs. For my guidebook, I chose this compact design with a loose box cushion. The basic U-shape and lack of details make draping and pinning fabric on the curves easy.
I bought it second-hand to use only as a teaching chair. I had no interest in using it as seating at home. Then, I made the slipcover, and now I love it! I use this comfy little chair almost every day.
That’s the magic of a simple slipcover makeover!
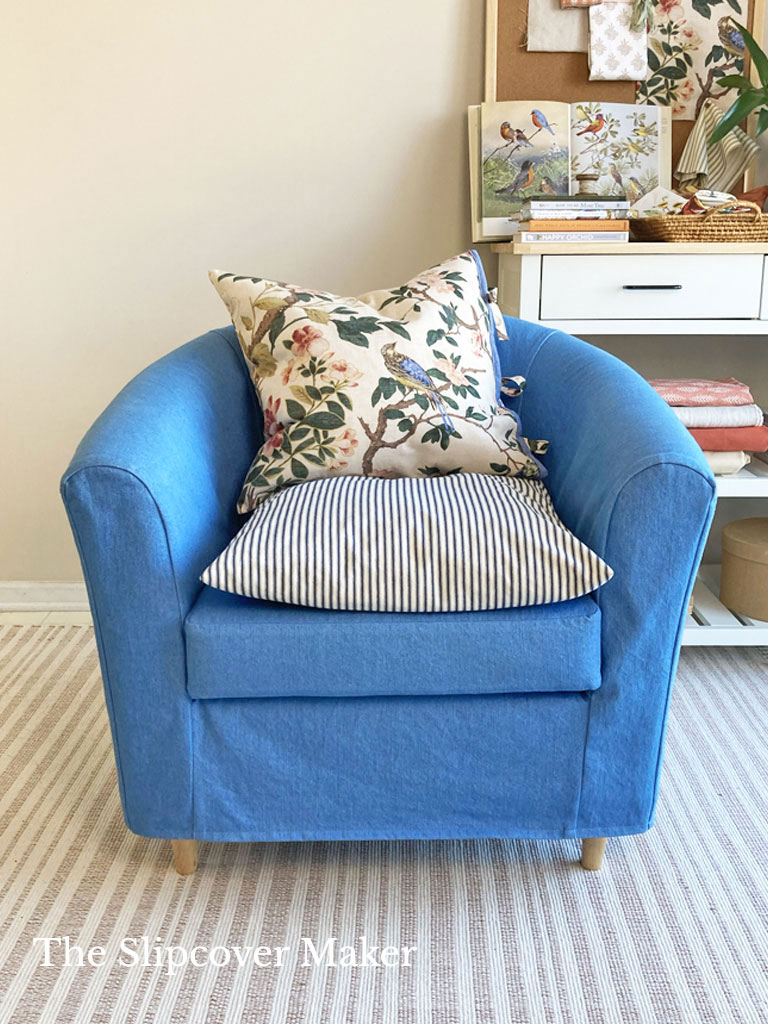
In the Barrel Back Chair Slipcover Guidebook, I walk you through every step of the project with illustrations and detailed instructions. You will learn the right-side-out pin method for creating the casual, relaxed-fit slipcover you see in these photos. (Tutorial for throw pillows not included.)
Even if your chair doesn’t look exactly like mine, the instructions and tips in the guide can be applied to similar barrel-shaped chairs.
I kept the slipcover design very simple—no welt cord, topstitch, skirt, or extra seams. I wanted to make pinning, cutting, and sewing easy, save you time, and help you focus on mastering the fit.
Less is more when you are making your first cover.
In addition to the pin, cut, and sew instructions, there are important steps in the first few pages of the guide for prepping your project:
- Slipcover design
- How to measure your barrel chair and calculate yardage
- A checklist of essential supplies, trim, fabric, and sewing machine tune-up tips
- How to preshrink yardage and cut fabric blocks
These steps will guide you in setting up your slipcover project for success!
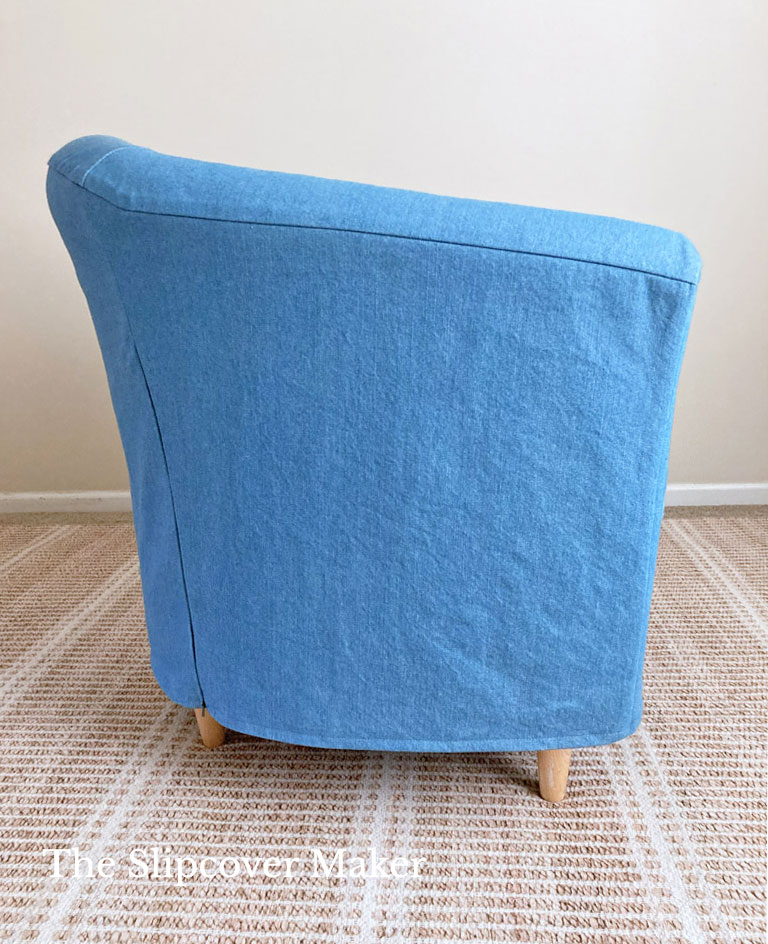
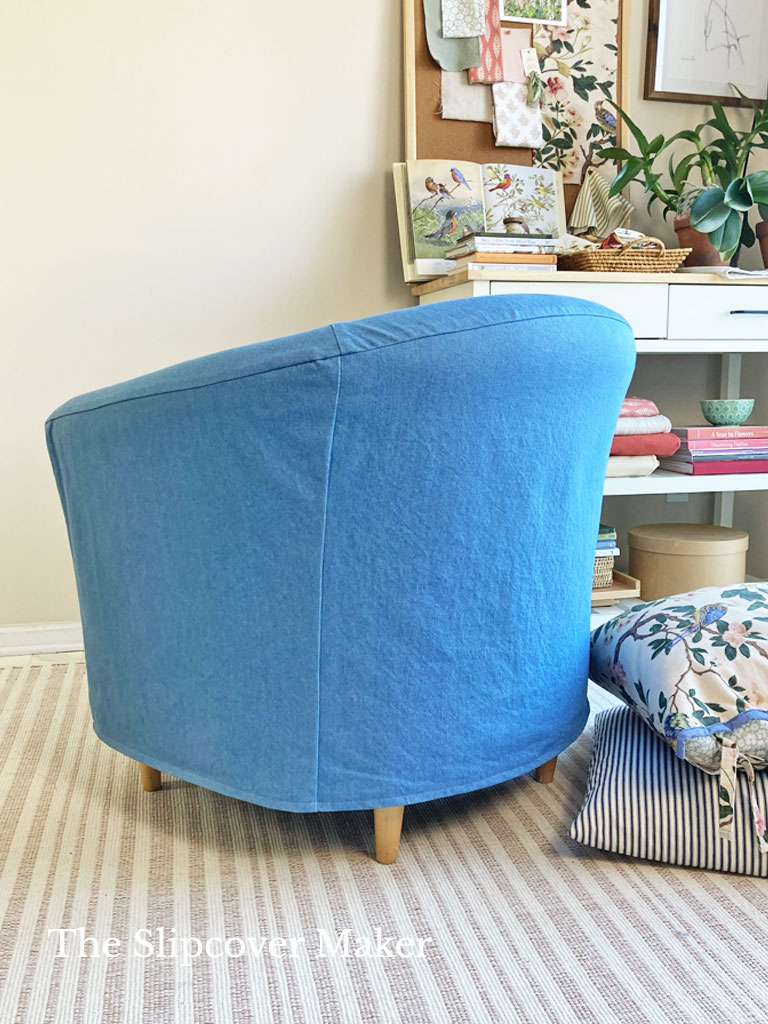
In this photo, you can see that the slipcover has a zipper on the left side seam.
A barrel back chair slipcover MUST have a full-length zipper opening (or ties, Velcro, etc.) to get it on and off. That’s because the measurement around the top of the chair (circumference) is much larger than around the bottom.
Don’t worry if you’ve never inserted a zipper. I included an illustrated, step-by-step zipper tutorial in the guidebook, an easy centered-seam application.

Do you have a worn & loved barrel back chair that needs a new look? Give this guidebook a try! It will help you create your own beautiful custom-fit cover from start to finish.
For more details and to purchase, shop here.
I think you are just amazing! You are so generous with your knowledge and experience. Your posts on the best sorts of fabric to use have been super useful. I may just find a barrel back chair so I can make use of your book!
Sue, thank you very much! I’m so glad my fabric posts have been helpful. If you can’t find a barrel chair, no worries. More guidebooks are in the works: a rolled-arm chair, a wingback, a boxy track arm chair, a French chair, and more!
Yes, yes YES!! Barrel chairs have always been the biggest challenge for me. I am so glad to see this book!
Pat, terrific! The barrel back guidebook will definitely help with turning your challenges into successes.
What a great looking cover–no wonder your “teaching chair” has found new life in your home. I have been out of the sewing game for literal decades, but I suspect I might finally be able to tackle the two wingback chairs in my living room when your step-by-step guide is published. Looking very much forward to it becoming available!
Thanks, sdb! Get your machine tuned up and ready to sew those wingback covers!
Now we’re talkin’!! Exciting! If I would be so bold as to suggest a booklet for “How to pin fit right-side out”.
Sign me up!
Ester, hello! Tell me more about your vision for a booklet that teaches the right-side-out-pin method. Currently, I teach the ride-side-out pin method in the Barrel Back guidebook and will do the same in my upcoming guides. I place the fabric right side out and show step-by-step how to drape, pin, and cut the slipcover to fit each chair’s unique shape and design details. For example, how I shape and cut a slipcover to fit the convex and concave curves on a barrel back requires manipulating the fabric and pinning/cutting the seams slightly differently than I would on a boxy track arm chair or a wingback.