Ikea Karlstad Slipcover Made Simple
In today’s post, I take you through my process of replacing my Ikea Karlstad chair slipcover with a simple DIY one-piece design. Plus I share what went wrong with my fabric choice and how to pin fit the deck without tuck-ins.
I’ve been slipcovering furniture for many years but I’ve never made a custom cover for an Ikea chair.
Most of the pieces I cover are classic rolled armchairs, charming English rolled arm sofas, and curvy wingback chairs.
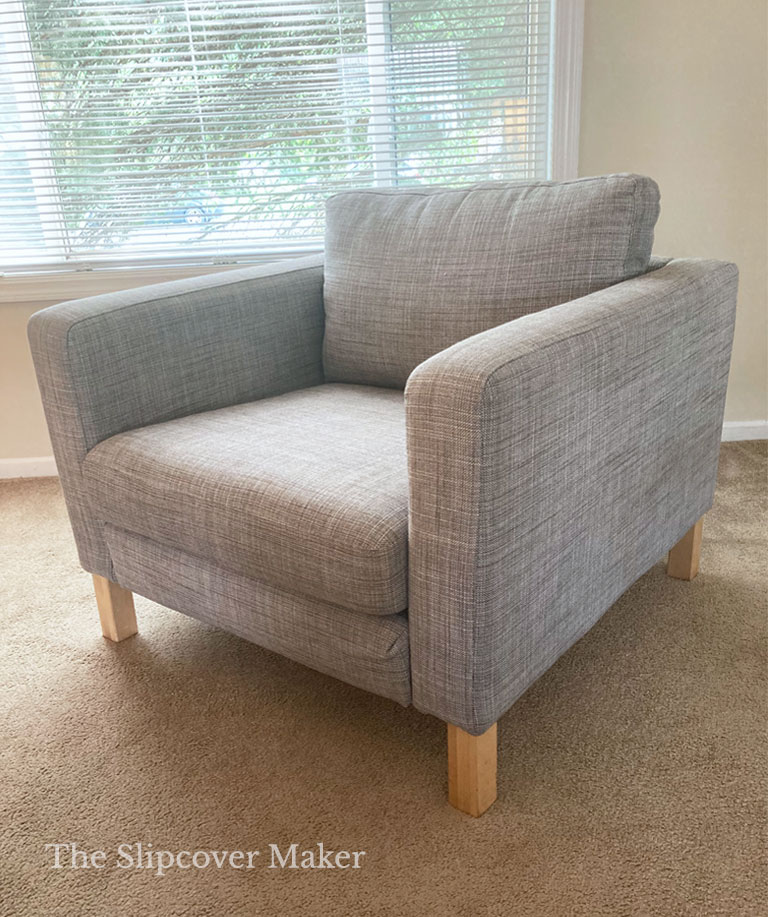
So, when I found this secondhand Ikea Karlstad chair, I thought why not try something new? The clean lines of the mid-century modern-inspired design should be pretty easy to slipcover.
But as soon as I got it home, I realized this chair was designed for DIY assembly. Uh, oh.
That means the only way to replace the slipcover with a new one of similar look and fit is to disassemble the chair, remove the slipcover, install the new cover, and then put the chair back together again.
The grey upholstery-like slipcover you see here is an Ikea ready-made cover sewn in three pieces — left arm, right arm, and the body.
Each piece is secured with Velcro all around the bottom of the chair. It was installed by the previous owner BEFORE she assembled the chair sections.
Swapping out the original cover for another ready-made option is certainly doable — if you have the right tools and a lot of patience — but it’s not what I had in mind for my first Ikea chair makeover.
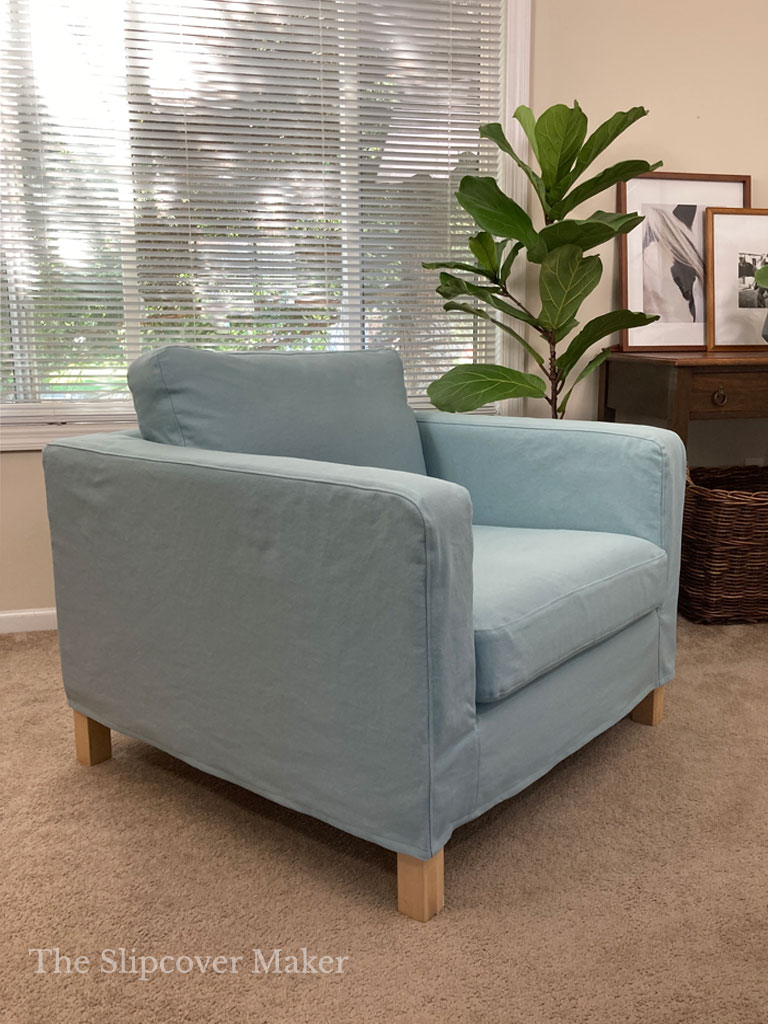
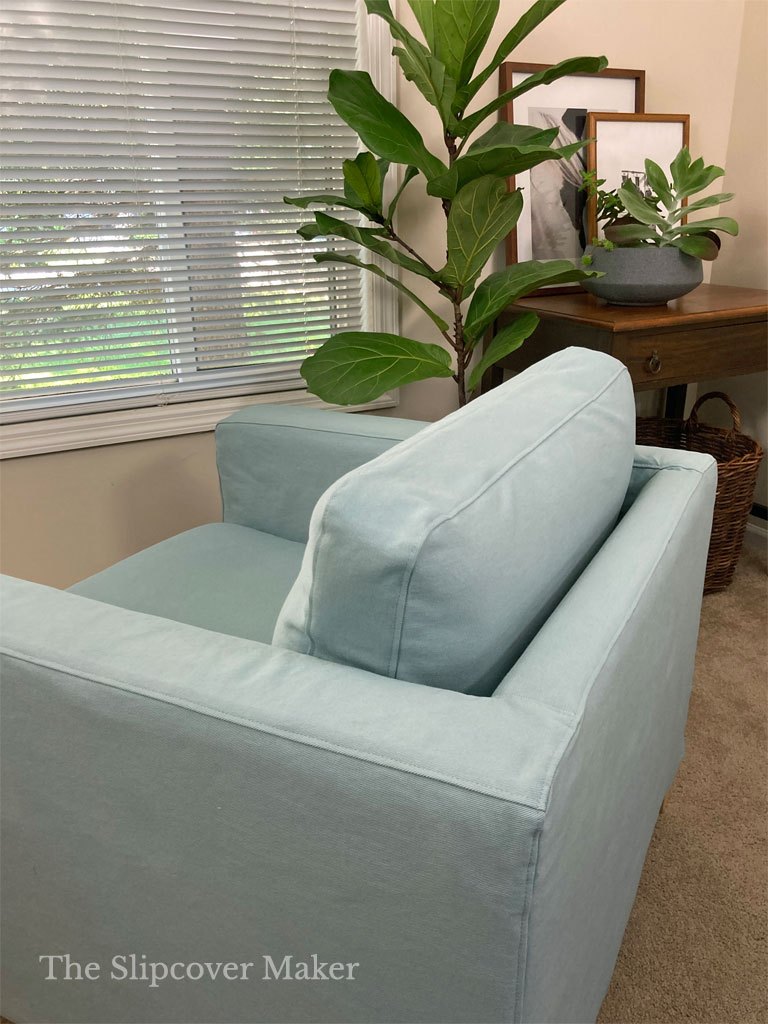
I decided to go with a simpler design. I made a one-piece cover instead. No need to take apart the chair!
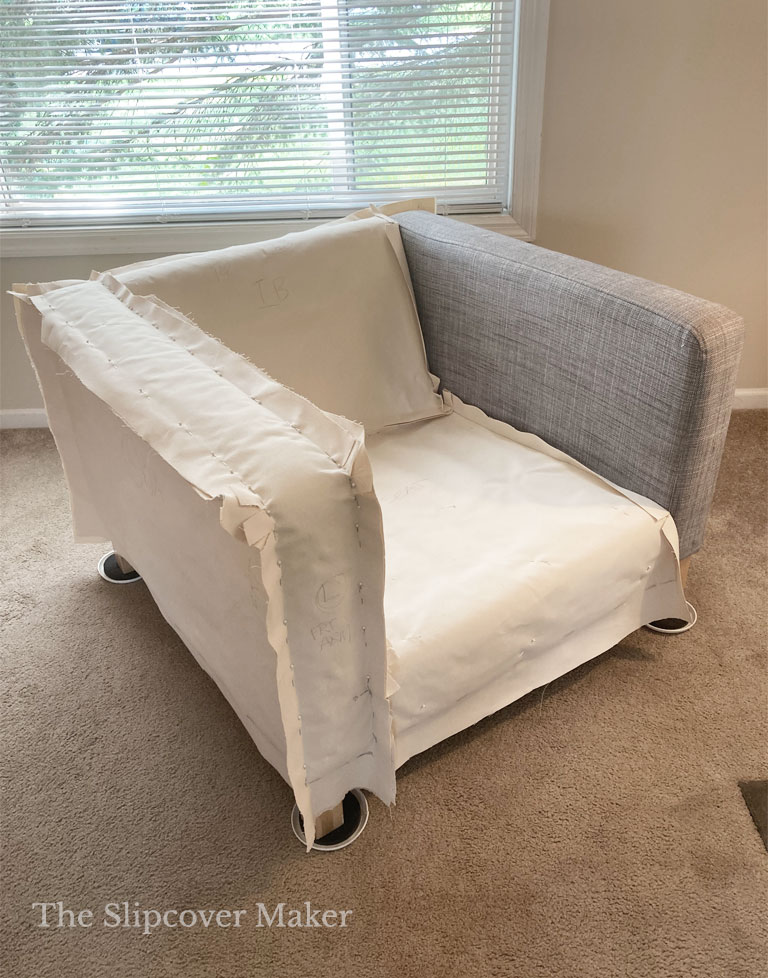
I started by pinning a pattern using natural canvas.
I usually pin the actual slipcover fabric directly to the furniture using the right side out pin method but since I wanted to experiment with fit this first time around I opted to make a reusable pattern.
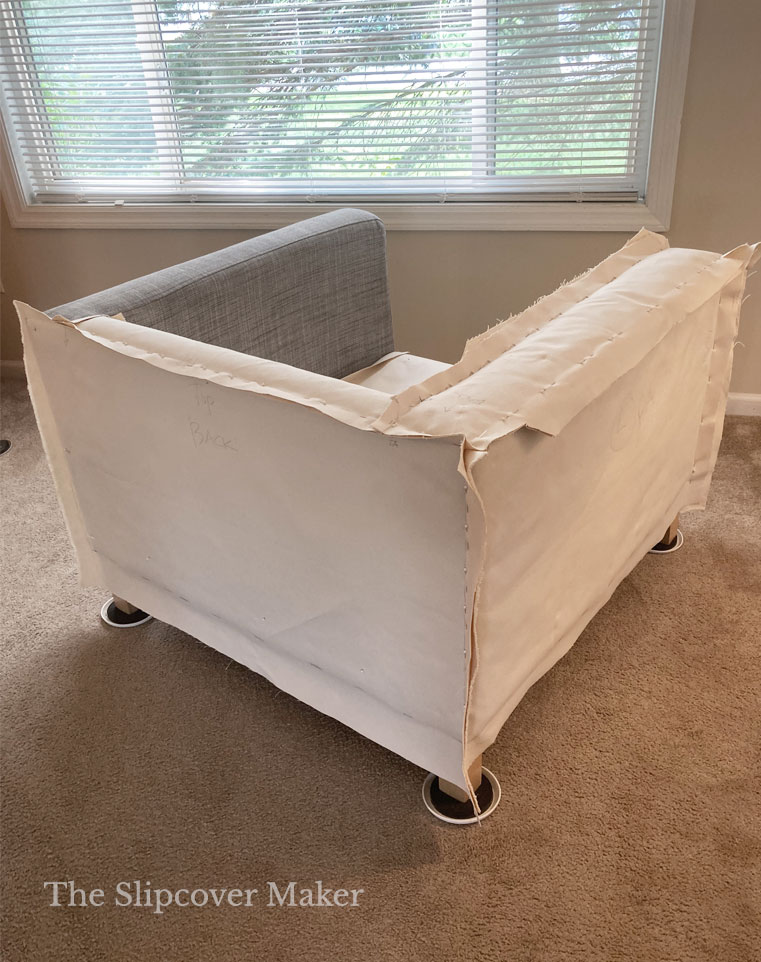
I didn’t run into any major fit issues. The boxy shape and straight, clean lines were straightforward to pin.
I followed the original slipcover seams as a guide. Seam placement modification wasn’t necessary.
I also kept an eye on the width of the track arms as I pinned the inner and outer arm seams. I wanted to make sure the measurement stayed consistent the entire length of the arms.
However, there were a couple of surprises along the way.
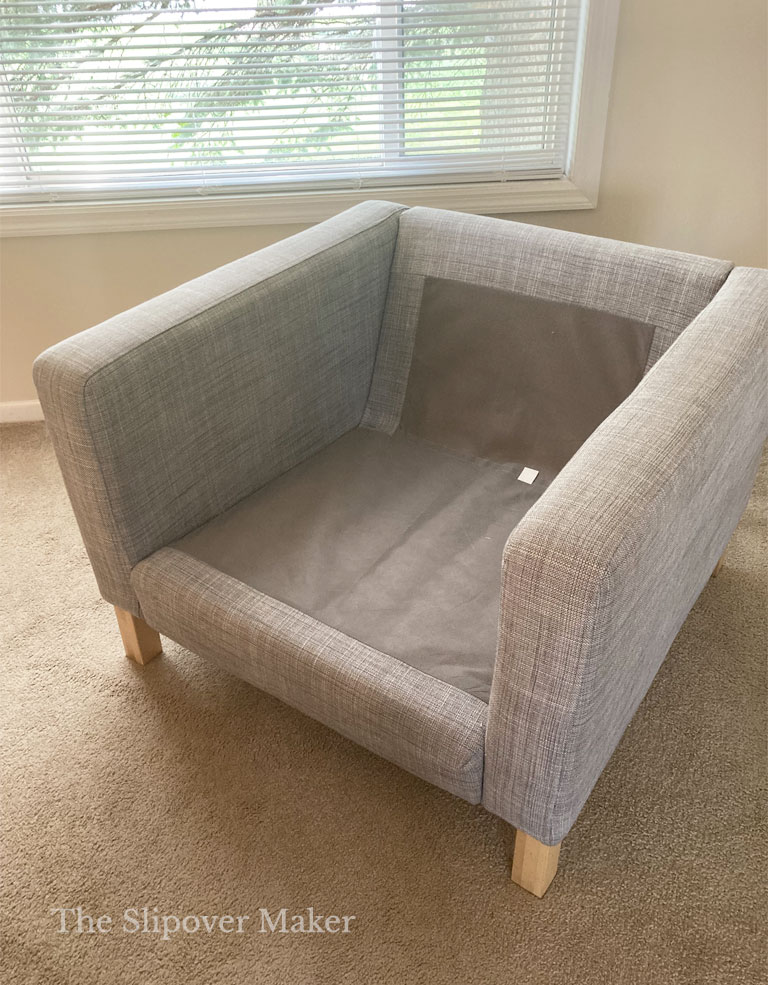
First, the Karlstad chair does NOT have tuck-ins around the deck at the inner arms and inner back. Tuck-ins help keep the slipcover from sliding around. Without them, the slipcover fabric in those areas can get blousy.
If you run into this on your chair, consider these fit tips:
- Make sure your seat cushion fits snugly. It will help hold the deck, inner arms, and inner back in place.
- Pin fit the inner arms and inner back smooth and tight as you join them to the deck. I had to take my deck seam in twice to reduce the blousy issue because I pinned the seam too loose.

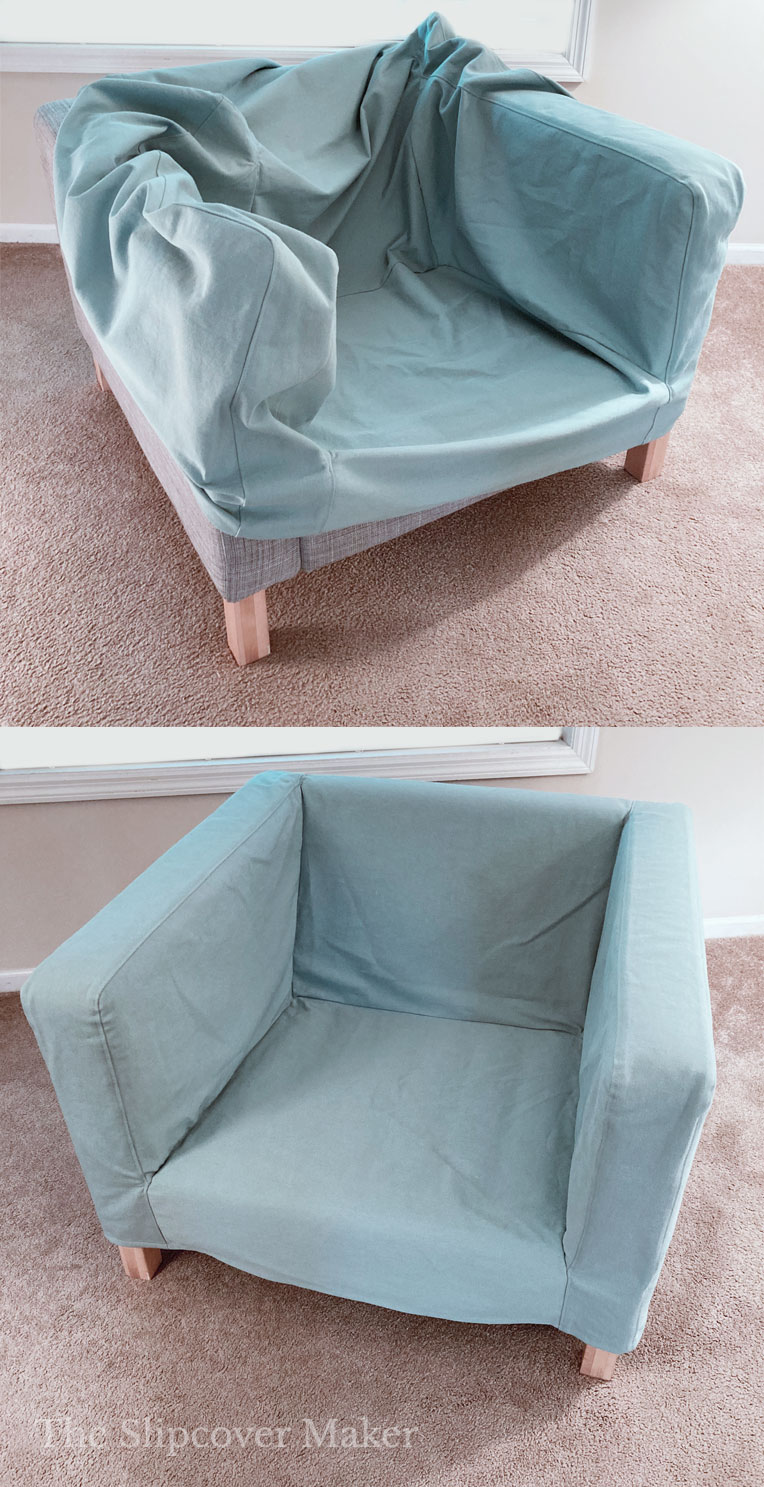
The second thing that surprised me was I ended up not liking my fabric choice!
I cut my pattern out in 12 oz. bull denim. This fabric is one of my favorites for washable, long-wearing slipcovers. I use it frequently for my customers’ covers as well as my own. I’m always pleased with the coverage, drape, and hand feel.
But for this project, the look and feel of the denim didn’t marry with the chair style. Here’s why:
The Karlstad chair frame is created with rectangular flat panels that don’t have much padding. There is nothing soft and curvy about this chair other than the cushions!
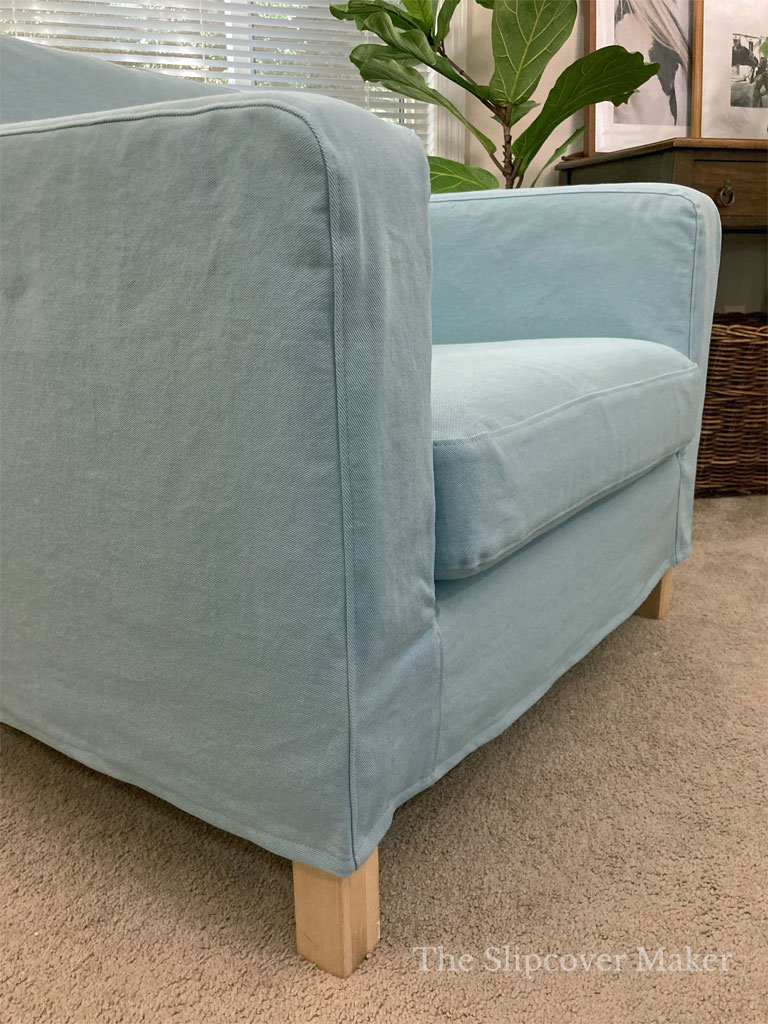
Even though the cotton bull denim is a thick 12 oz weight, the slipcover appears limp hanging over the flat, boxy silhouette.
What I mean by that is the fabric drape is too soft and somewhat wimpy for this style of chair. It lacks the body and texture that I envisioned for my slipcover.
I love the semi-relaxed fit I created, it’s exactly what I was going for. And, I like the one-piece pullover style — so simple and easy. It’s my fabric choice that I’m not crazy about.
No problem. I think my sister loves this chair, with or without the slipcover, and will enjoy it more than I will! Haha!
This project was such a good refresher for me! It reminded me that selecting slipcover fabric is a personal choice that must involve performance considerations. When you marry the right fabric to your chair’s design and end use, you will love and enjoy your custom cover for years to come.
Want to learn more about choosing slipcover fabric? Check out these helpful posts:
- 3 Steps for Choosing the Best Slipcover Fabric
- Best Weights for Washable Slipcovers
- 4 Things to Consider When Choosing Slipcover Linen
- Denim Slipcovers FAQ
- Canvas Slipcovers FAQ
Thanks for reading. Until next time, happy slipcover-making! — Karen
Hi Karen, thanks for another fun read. I always enjoy reading your blogs, even though I’ve never made slipcover and probably never will. That’s interesting what you said about your fabric choice. What fabric would you pick for this same project now that you know? Would a stretchy fabric like a stretchy denim make it more snug and look better?
Looking forward to reading your next article!
Aly
Aly, thanks so much for reading! I think I would choose a fabric that has a chunky weave or quilted or plush — a fabric that has more texture and volume to it than the denim. No stretch denim. That would make the blousy issue and the limp drape worse!
Karen, You are amazing. Not only is your work beautiful, your words/descriptions/explanations are so good.
How I would loved to have your expertise when I was still
doing slipcovers 25 years ago. Thank you for the time and effort
you put into your website (I still read it!)😃
Peggy, your kind comments made my day! I love that you continue to read my blog. Thank you!
I love getting an update that you have posted. I have made a few slipcovers, but don’t have the self-discipline to get it right. I enjoy reading your posts so much, they make me believe if only I would persevere I could get it done! Thanks for this one, it was great!
Robin, I’m thrilled you enjoy my posts! Your comments about self-discipline and perseverance are very helpful. They help me become a better instructor as I develop more tutorials for the blog and for my upcoming video courses.
Hi,
I really enjoy your slipcover ideas and how-tos! I’m not a good seamstress so I’d a pipe dream to do this someday. I’m wondering if you might repost your fabric supplier for those fun ticking fabrics we did an article on some time ago? Thank you! -Liz
Liz, I’m so glad you enjoy my posts! Thanks for following. I think the post about ticking you are referring to is this one: 5 Ticking Stripe Alternatives https://slipcovermaker.com/5-ticking-stripe-alternatives-for-slipcovers/. I included the retailer links in the post.
Well I think this fabric looks amazing! But I totally get that you wanted more of a filled out look. I’m glad your sister took it off your hands! Great job Karen. You are def the expert slipcover maker😊
Thanks, Cindy!
Hi Karen–I was so thrilled that you had a new blog post, you write and explain very well and I love your work. I am trying to figure out how you are able to top stitch the cover after it’s assembled, it doesn’t seem feasible to get all the finished parts under the sewing machine once assembled.
Audrie — I topstitch the seams as I assemble the slipcover sections. For the Karlstad slipcover, I assembled the arms and topstitched them before I attached them to the inner back and deck. When those pieces were assembled, I attached the back and topstitched the side seams and upper back seam. This is easy to do when you pin-fit the slipcover right side out on your furniture and follow the sewing sequence. There is a specific order you must follow. Learn more in this post https://slipcovermaker.com/slipcover-pin-fit-tutorial-part-3-sewing-the-body/. And, follow this tutorial for topstitching the box cushions https://slipcovermaker.com/how-to-topstitch-a-box-cushion-cover/